TECHNICAL BLOG
April 11 2026
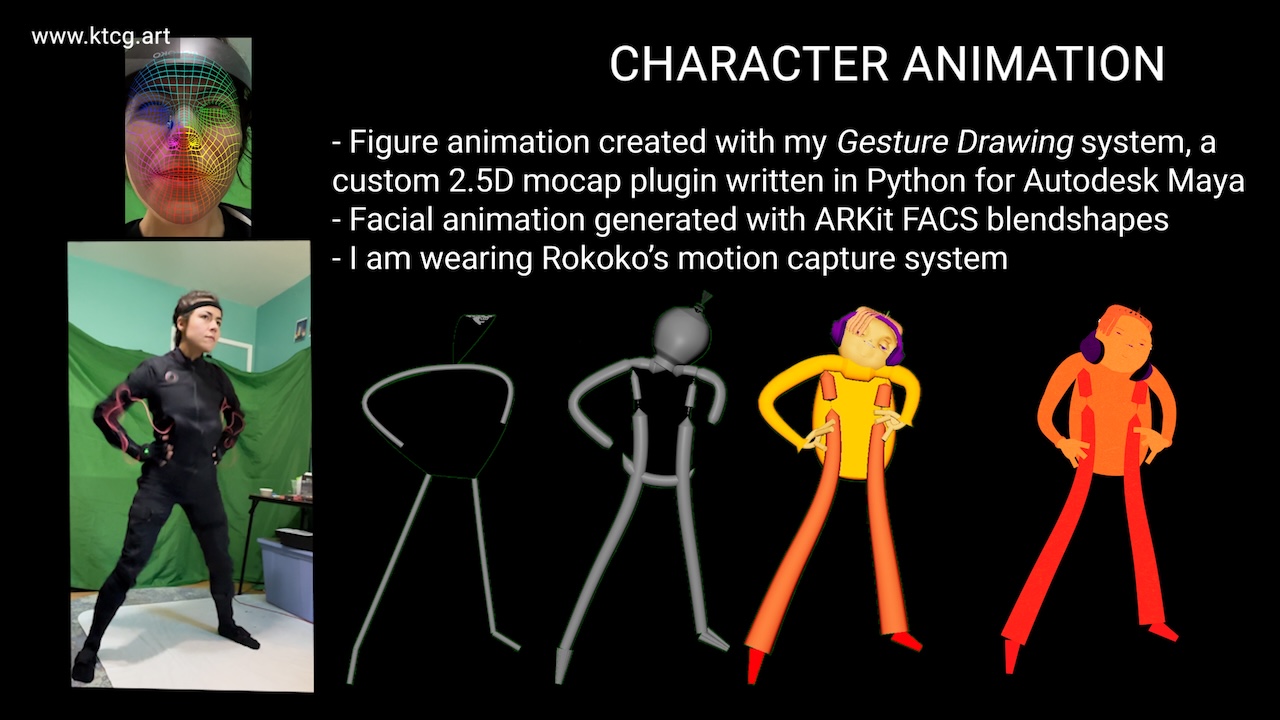
In this post, I will provide a general overview of my animation pipeline. This post uses production materials from Juice Drop, a music video I recently animated. I used this same pipeline on Sewer Issue, my short last year. Watch the below video to see how I put together the opening 10 seconds of Juice Drop, and read the post for additional information!
» read moreJanuary 28 2026
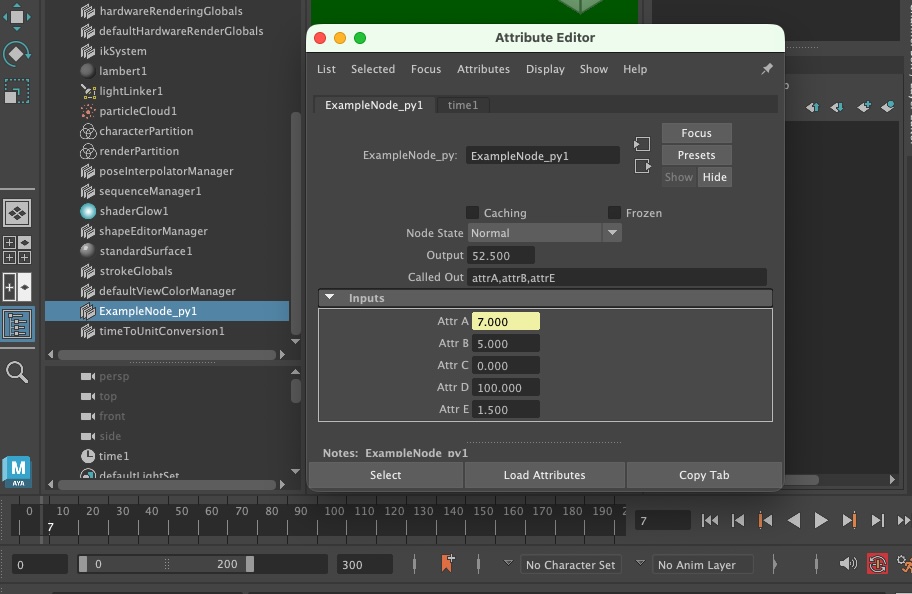
The purpose of this post is to give Maya Python developers an example of using getattr and setattr to set class attributes when writing a custom dependency graph plugin. This technique allows programmers to take advantage of Python language features with minimal changes to the standard Maya dependency graph node programming syntax laid out by Autodesk. This post includes:
- An example of syntax that uses
getattrandsetattrinstead of the hardcoded attribute names commonly shown in examples of dependency graph nodes - An example of working with compound attributes
- A node development test loop
- Start-to-finish walkthrough of setting up and testing a node, with completed code
I use this technique in several nodes that are part of my custom animation pipeline. In my pipeline, the node attribute names are defined by an external configuration. Taking advantage of the builtins allows easier implementation of object-oriented programming patterns. For instance, you could pass node classes to a builder method. Finally, using the builtins with a compound attribute allows a low-impact solution to creating attributes with unknown names. » read more
July 17 2023
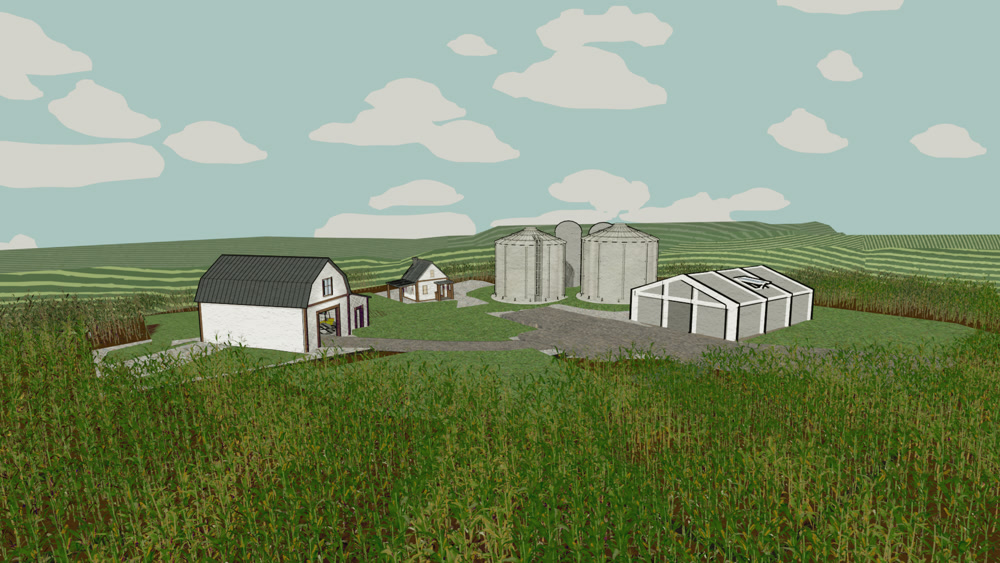
This is a quick post about implementing a classic trick to get black outlines – a duplicate object or extrusion with inverted surface normals. This little trick has been employed by countless CG artists and game devs to add a little bit of toon-iness. Here’s the contents of this post:
- Show how to accomplish this effect via the UI in Eevee. Thanks to the robust Blender community, that information is accessible all over the internet.
- Show how to get the same effect set up via code
- Tweaks required to get it working in Cycles.
- Discuss some of the related computer graphics concepts
I recently used this technique on a set of freelance animations I did for the Illinois State Geologic Survey, which you can check out on my animation page.
» read moreJune 3 2023

This is the first post I’ve made since I moved my portfolio and blog over to ktcg.art, so I thought it would be fun to make a post about that entire process. It’s a litte outside the tech art scope of my site. But, I can imagine other artist-developers being curious about how they can make a site like this themselves. This site is hosted on GitHub pages and built by Jekyll.
I won’t go into tutorial-level detail about how to do everything. The idea of this post is to give someone new to web-development a holistic picture of how they could put a site like mine together.
» read moreApril 19 2021
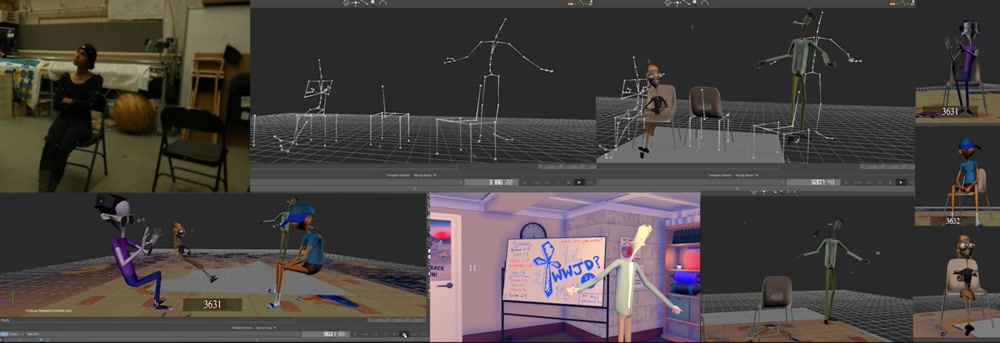
Hello! This is the second workflow breakdown for my thesis film. It will concern the motion capture animation process. Check out the first post about using Unity to make a short film that covers the Unity workflow itself, and watch the film itself on my animations page.
Purpose: This post is designed for students or independent artists considering using motion capture for animated filmmaking, and would like an example of how I approached the process. For the sake of length, I will not be going into tutorial-level detail on the different MotionBuilder/Maya tools referred to, but I will post link to technical information as it comes up, and you can always leave questions in the comments section.
» read moreMay 10 2020
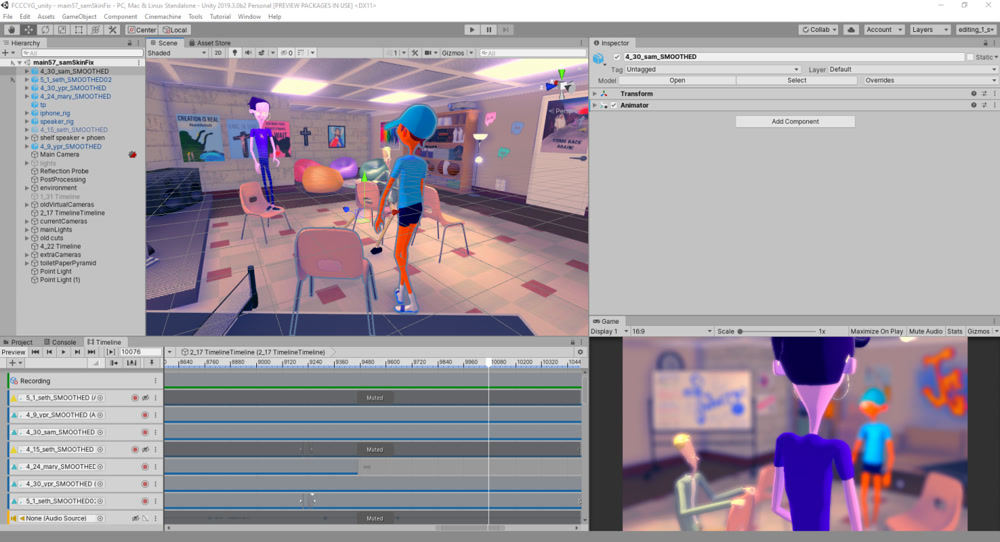
Hello! I recently completed production on 8-minute 3D animated short, which I made using Unity. In this post, I’ll be breaking down my workflow, from character modeling to final render. I’ll also be evaluating the merits and limitations of using Unity in this way. This is probably going to be a chonky post, so below is my list of content, so you can scroll to whichever section interests you, or read the whole thing if you want to get a picture of the overall workflow. There’s also a link to the completed film and the Unity packages I used at various points in the pipeline.
- Pre-Unity work
- Importing Assets
- Shading
- Post-Processing Effects
- Setting Up the Timeline
- Cameras
- Outputting/Recording
- Editing
- Troubleshooting Visual Artifacts
- Evaluation
Packages Used: Unity Recorder, Unity Timeline, Post-Processing v2, Cinemachine, Toon Standard, Post-Processing Utilities
Software Used (visuals): Maya, Motionbuilder, Photoshop, After Effects, Premiere Pro, Unity
» read moreDecember 18 2019
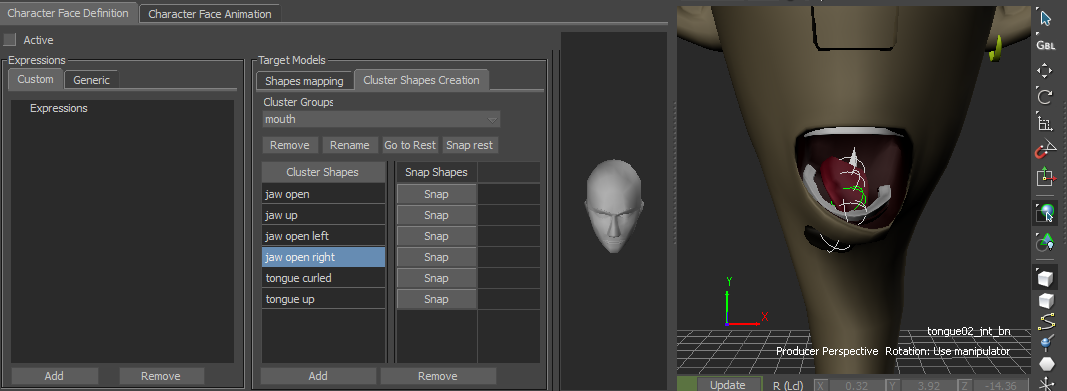
I wanted to share my process for setting up a character for mocap retargeting and facial animation in MotionBuilder. I prefer to make a clean character file to retarget onto, with all the possible assets that I would need for a given project. Having all assets on a character from the beginning of the retargeting process minimizes the risk of realizing I need another feature (character face, voice device, etc.) later on, when I’ve already created several motions, and might need to set up the same asset on multiple files. In fact, I think of character setup as the final step in the rigging process, rather than the first step in the animation process. It’s just better pipeline management.
To begin, I’ll think about all the types of animation I need to do for a given project, and create a checklist of all the assets and features I need to set up. I do this before opening the software, to keep me from getting bogged down in little details and forgetting something important. For this project, I’ll be using a character called Youth Pastor Rick (shortened to YPR), who is a character in my thesis film at the Carnegie Mellon School of Art. The film isn’t out yet, but if you’d like to follow its development, you can stalk me on Instagram (@kteender).
» read moreAugust 11 2019
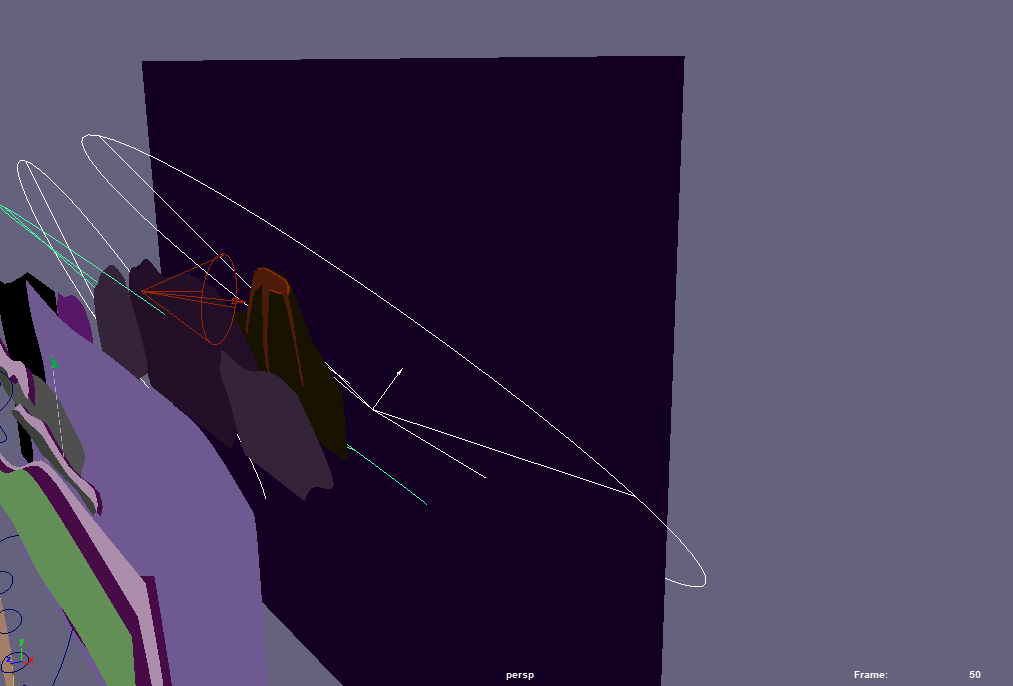
Last year, I worked on a short called Midland Safari Putt-Putt, which I animated in Maya using flat planes. I picked this method because I was the most well versed in Maya (as opposed to another animation software like Harmony or After Effects), but I didn’t have time to go through the entire 3D pipeline. However, I really wanted to tell this story (which is true, by, the way). So, I had the option of scoping my project by a) using the workflows I was familiar with (i.e. modeling, texturing, rigging, animating, figuring out shots, rendering) to make something really short and small, or b) figure out a new way to make what I wanted. This project taught me that Maya (and any other software package) should be treated as a tool, and the way it is “supposed” to be used or is “usually” used shouldn’t necessarily determine what kind of project you can make.
In this post, I’m going to go through each step in the process, and give some tips for people interested in this method to enable a quicker workflow for more ambitious commissioned animations or personal projects.
» read moreJuly 25 2019
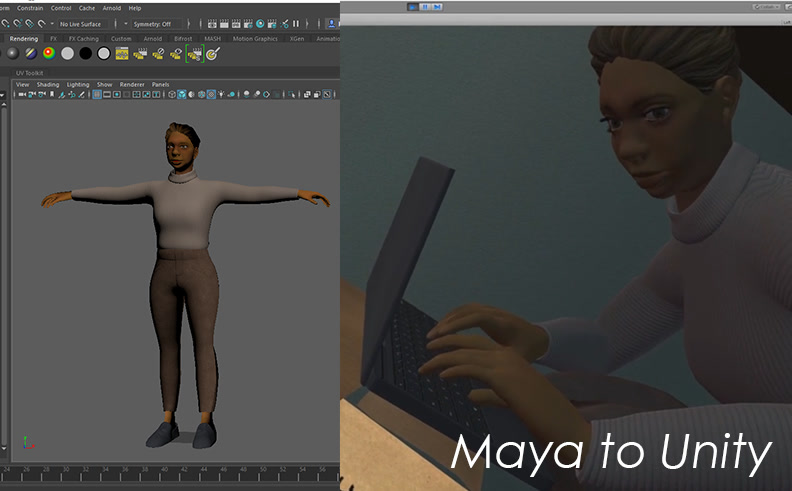
This post isn’t going to a tutorial in the way that my previous posts have been. Rather, it’s going to be some advice on how to approach bringing custom animations and characters into Unity, based on my past couple of years experience working on projects that utilize the (Motionbuilder) - Maya - Unity pipeline, and I’ll try to update this post with new considerations that I discover!
To utilize the Unity animation system with as few hiccups as possible, it’s important to understand the necessities of your project before you start the rigging process. The Unity animation system (a.k.a “Mecanim”) has many features that you may or may not need, and it’s important to know which ones you’ll need to utilize ahead of time so that you can plan ahead with your rigs and animation methods. This will become important when we discuss the Unity Avatar further down this post. Additionally, there are many common rigging tactics that are not suitable for use in Unity, and it’s important to be aware of the engine’s limitations so you can strategize the best rig possible. It’s better to build things right the first time, with lots of testing along the way, then to tell yourself “I’m sure it’ll work” and waste your time. I’ll get off the soapbox now.
» read moreJuly 9 2019
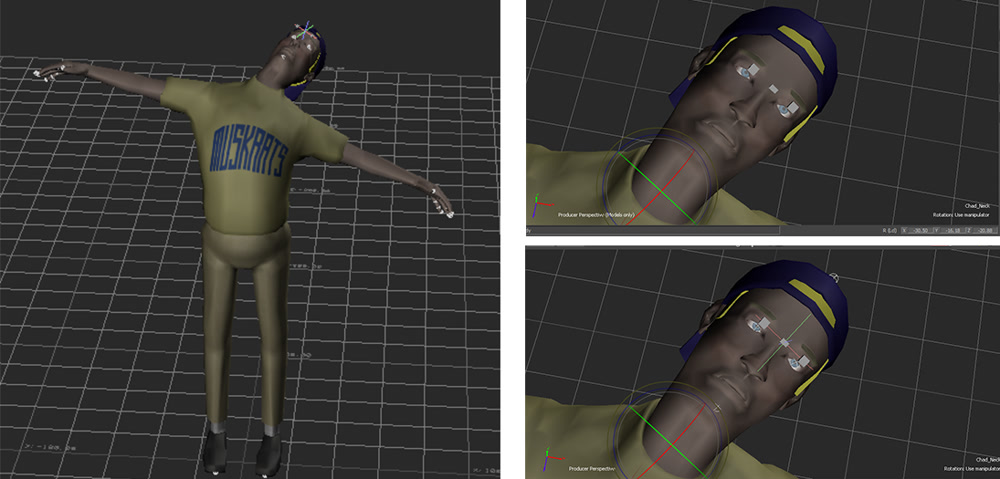
An eye controller that allows you to manipulate the character’s look-at point is a bog-standard feature of any rig:
If I’m just doing one or two shots, I’ll do my body/face mocap re-targeting in Motionbuilder, bake it, send it to Maya, and set up my eye controller in Maya. However, for work recently, I was re-targeting a huge number of shots to the same rig, and I didn’t want to have to set up an eye control for every single shot. (Also doing all the animation in MoBu and then just the eyes in Maya mars an otherwise beautifully flowing pipeline. Yick).
So, I decided to make an eye controller in the characterization file so that every re-target would have the eye controller on the rig. (Side note: by “characterization file,” I mean the file with the character in a t-pose, with the skeleton defined, the floor defined (if applicable), character extensions added, etc – basically, the file that is all ready for mocap).
» read moreJune 11 2019
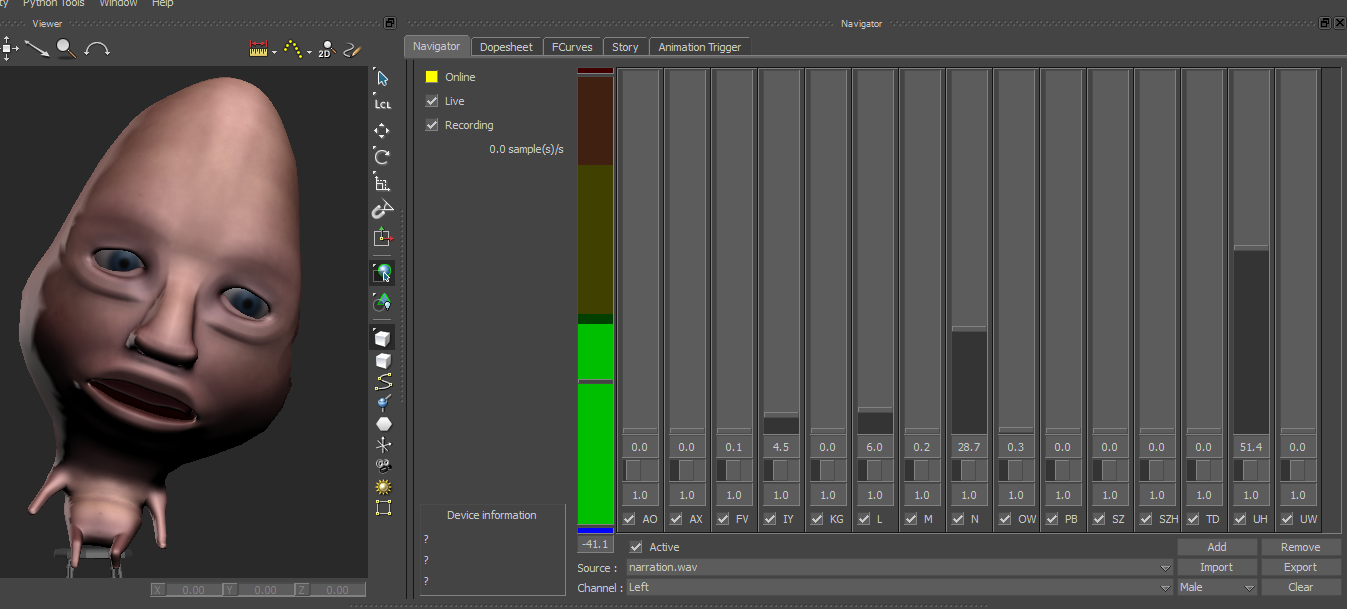
UPDATE: In section 1 of this post, we paint the blendshape weights for the character. I’ve noticed a bug where sometimes, all your morph targets don’t appear in the “Target” section of the Paint Blend Shape Weights Tool. You can get around thing by right-clicking on your base mesh, and while holding down the right mouse button, move down to Paint > Blend Shape > your desired shape.
UPDATE, THE SEQUEL: I recently discovered that Maya’s fbx exporter doesn’t export shape masks (also know as blend shape weighting). If you made multiple shapes on one model and masked some of them out, this isn’t going to work in MoBu – the entire mesh is going to be effected. If you make this mistake and don’t want to make new targets, you can turn up the original shape (with the mask on the target) up to 1.00, all of the others down, select the base mesh, and in the Shape Editor, do Create > Target from Selection. Then, you’ll have a target with only the desired deformation. See me discover this on the Autodesk forums.