Animation Pipeline for a Music Video
11 Apr 2026
In this post, I will provide a general overview of my animation pipeline. This post uses production materials from Juice Drop, a music video I recently animated. I used this same pipeline on Sewer Issue, my short last year. Watch the below video to see how I put together the opening 10 seconds of Juice Drop, and read the post for additional information!
The major pipeline phases you see in the video are Storyboards, Previs, Animation, and Polish. I go into more depth below about additional steps.

Storyboards: I do not always storyboard animated sequences, but Juice Drop was a perfect candidate for storyboards.
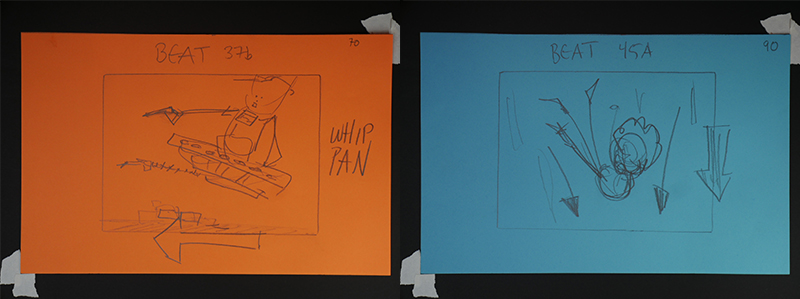
I board on colored paper to help me experiment. There ended up being 126 boards for 63 beats.
Capture Script: I make an initial cut out of the boards, then I determinine the required motions. It is advantageous to have as few setups as possible, so I determine which beats can be captured together.

An excerpt from my capture script.
Slates: The slate key is as follows: SetupNumber_characterName_RollNumber. This slate will follow the motion around in the filename, clip names, etc. I perform all motions myself. I wear a Rokoko Smartsuit Pro II, Smartgloves, and Headrig (Headrig not pictured).
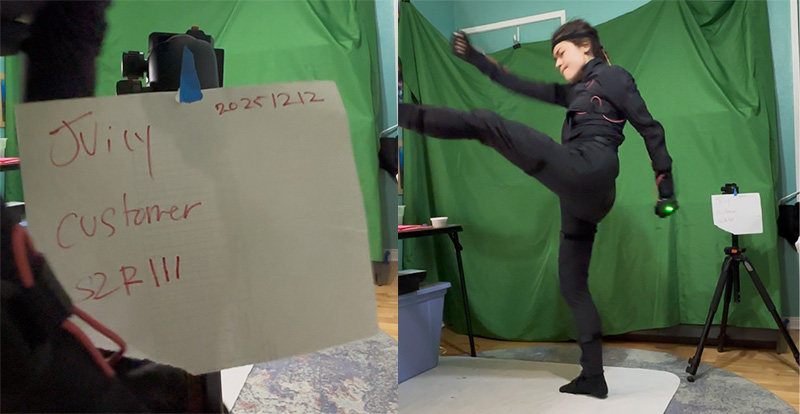
In this example, the slate is S2_customer_R3.
Previs: I run my the output from my capture shoot through my Gesture Drawing plugin, which is a custom Autodesk Maya Python plugin for doing 2.5D motion capture. I wrote the plugin. I refer to the low-res, stick figure gestures as ‘motion dailies.’ I then do a previs pass, where I edit together the motion dailies based on the cut I created using the boards.
I reused a storyboard to block in a foreground element.
I organize my Premiere Pro timeline such that there is a unique track for each character’s motion dailies clips, then export EDLs for each character.
Background and Prop Drawing: One of the most frequent comments I hear about my animation is appreciation for the hand-drawn props and backgrounds. It really makes me happy that viewers value the visibility of the human hand. I sell all my production drawings, so if you like them, head over to the Story Box Store!
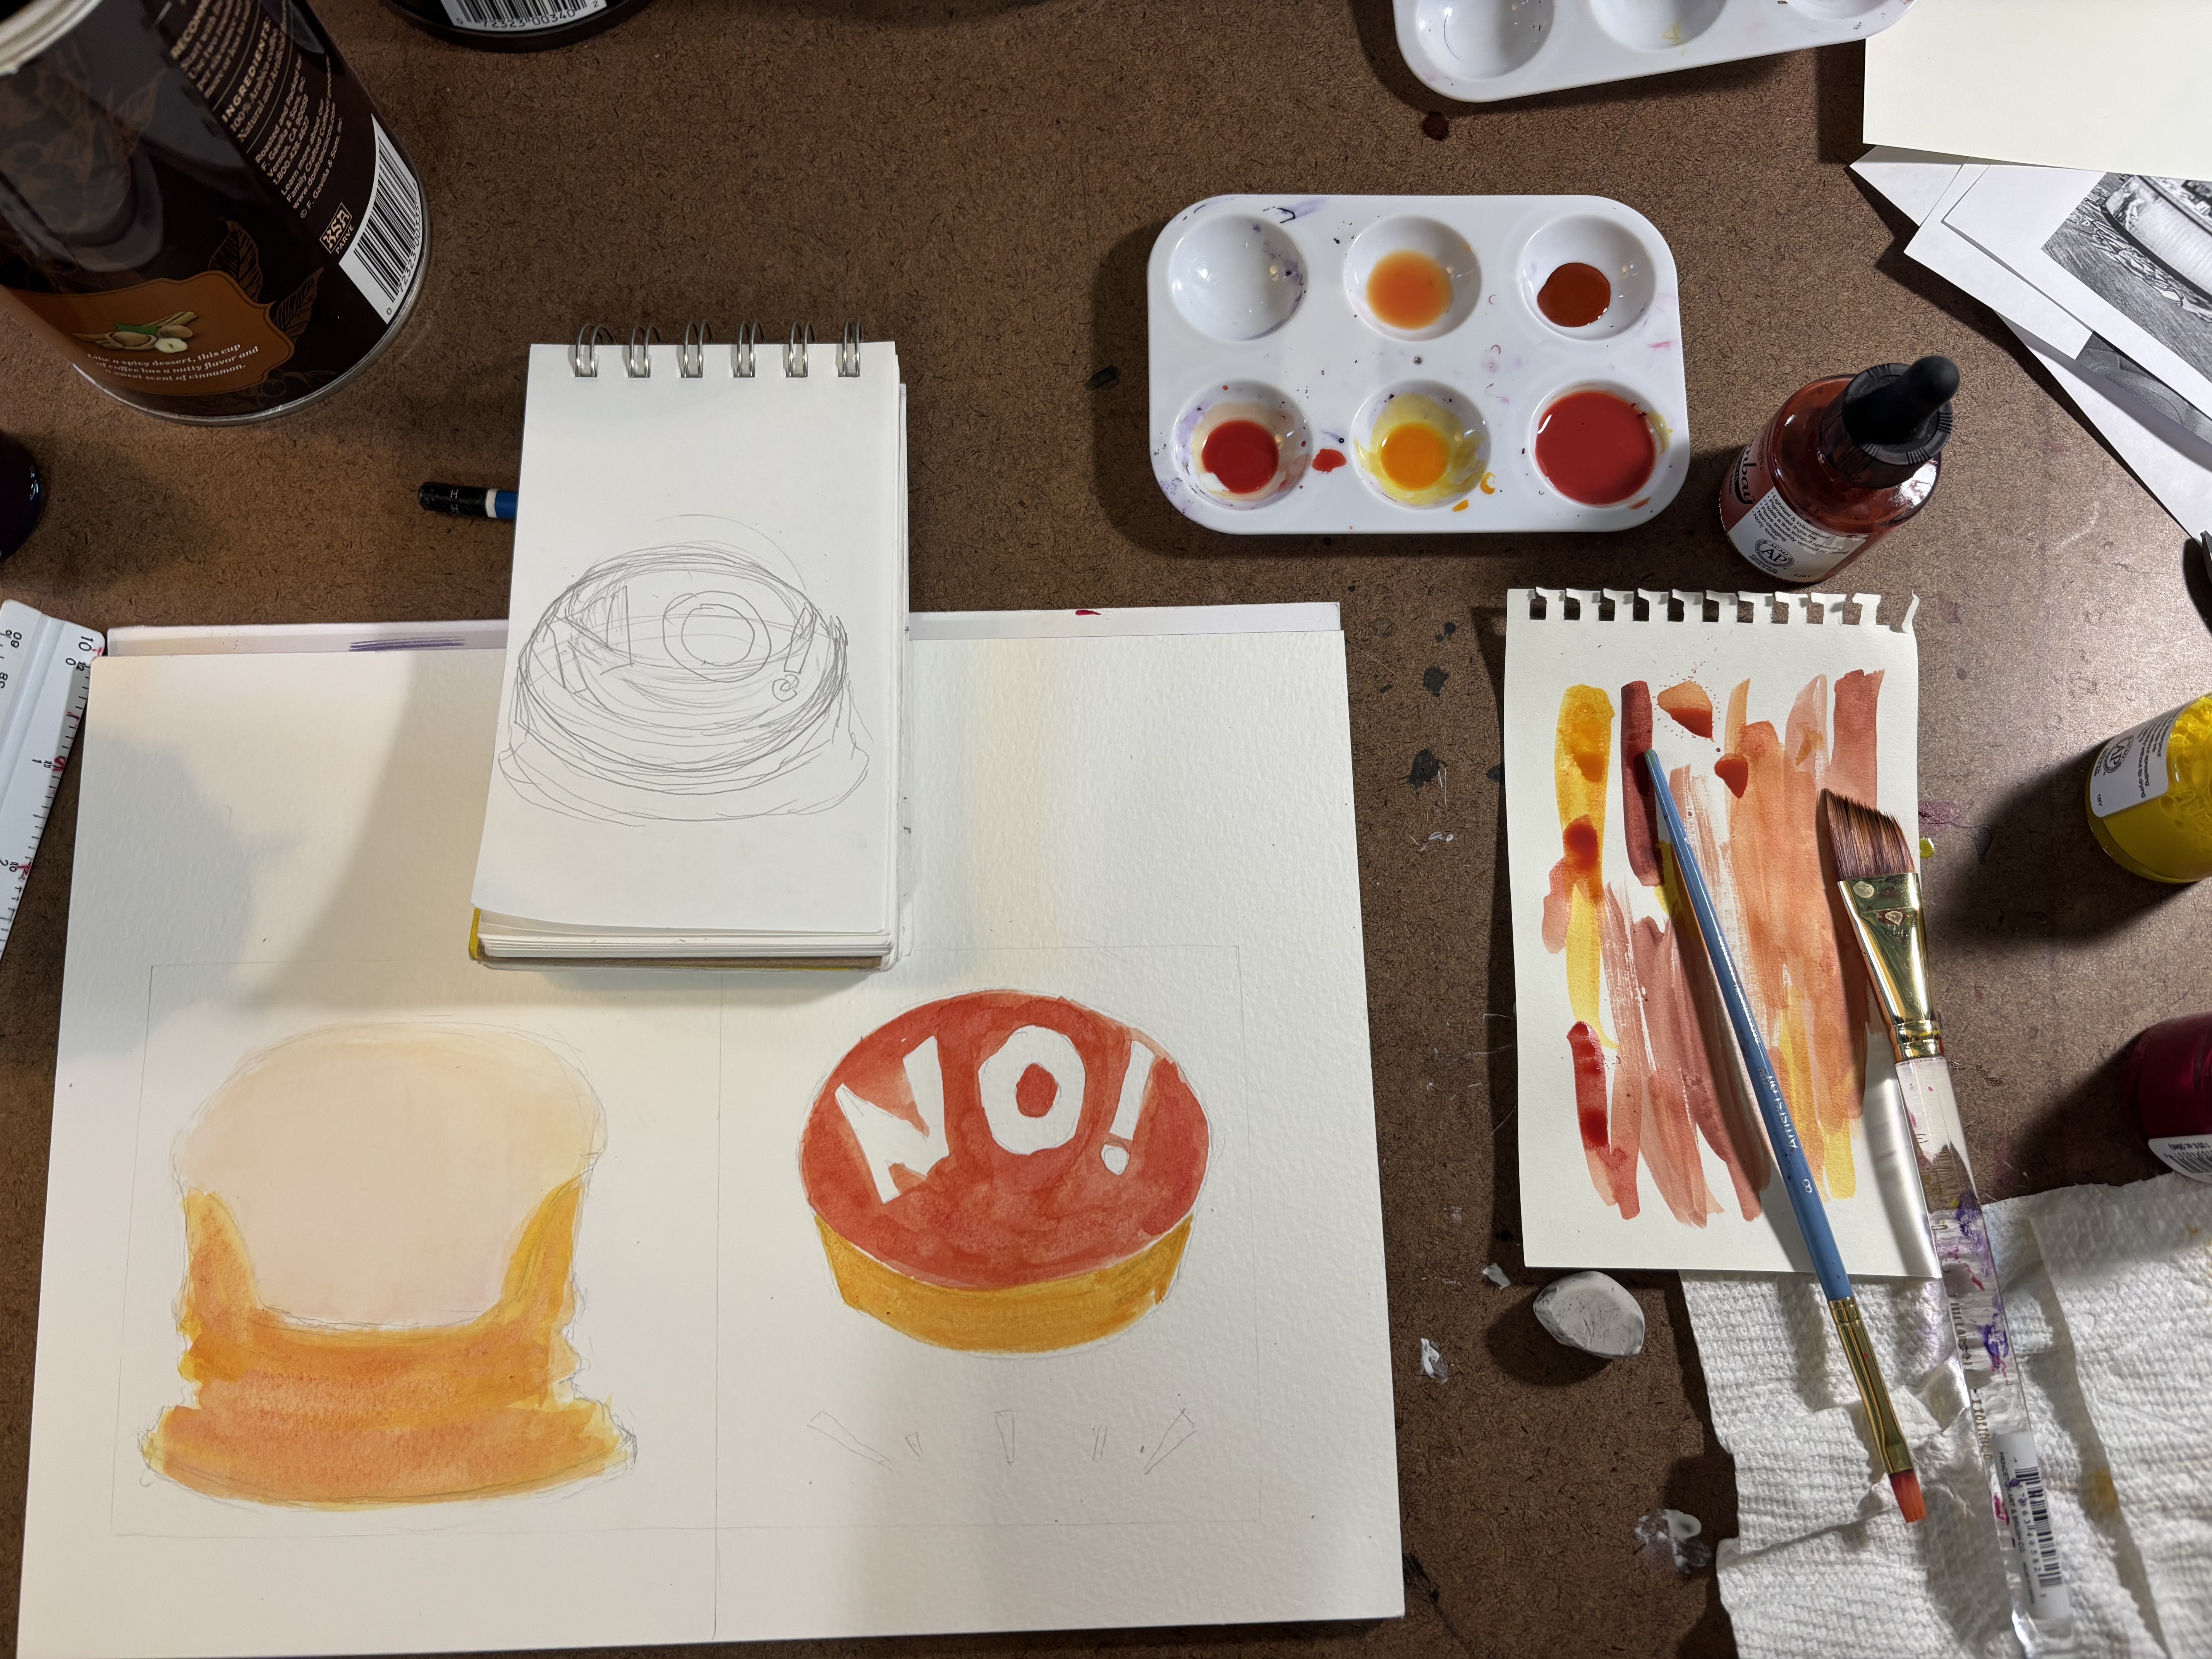
Using colored India ink and watercolor paper to draw the 'No!' button.
Animation: I print the EDLs from the Previs step so I can annotate them easily. The ranges in the EDL serve as my ‘motion selections’, and are the guide for the ranges that I need to clean up.

Annotated EDLs at the end of Animation
Animation depends on the requirements of each shot, but can include:
- Updating the Gesture to a nicer version
- Adding the character’s hands (I don’t bother with hands for the motion dailies)
- Attaching the character’s face (I box-model the faces seperately)
- Running a script I wrote to drive the ARKit blendshapes on the modeled face using the blendshapes on the captured face
- Motion cleanup and sweetening
- Prop animation
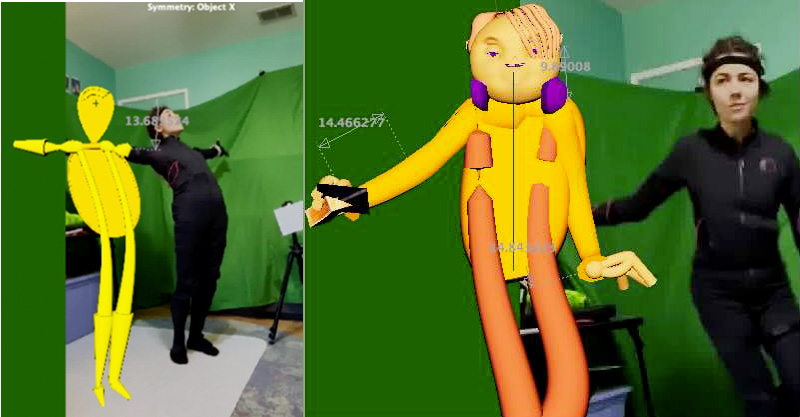
I often bring video from the shoot in as reference when animating. I set my Maya background to green so it's easy to key out of playblasts.
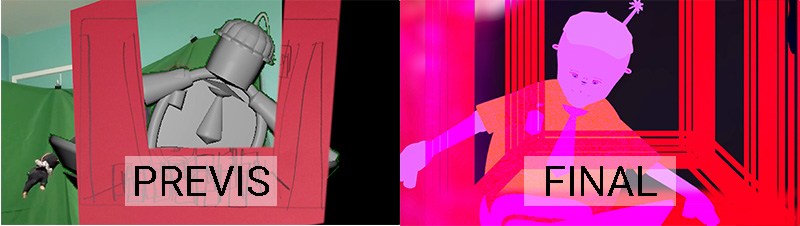
Polish: I’ve listed polish as a seperate step, but in reality, Polish and Animation are not clearly seperated. I polish as I go. Polish can include:
- Adding textured overlays to the rendered animation
- Integrating the rendered animation into the background
- Adding video effects to the animation and background to direct the viewers eye
- Using After Effects to generate special effects
..and any other tasks required to make a shot work!
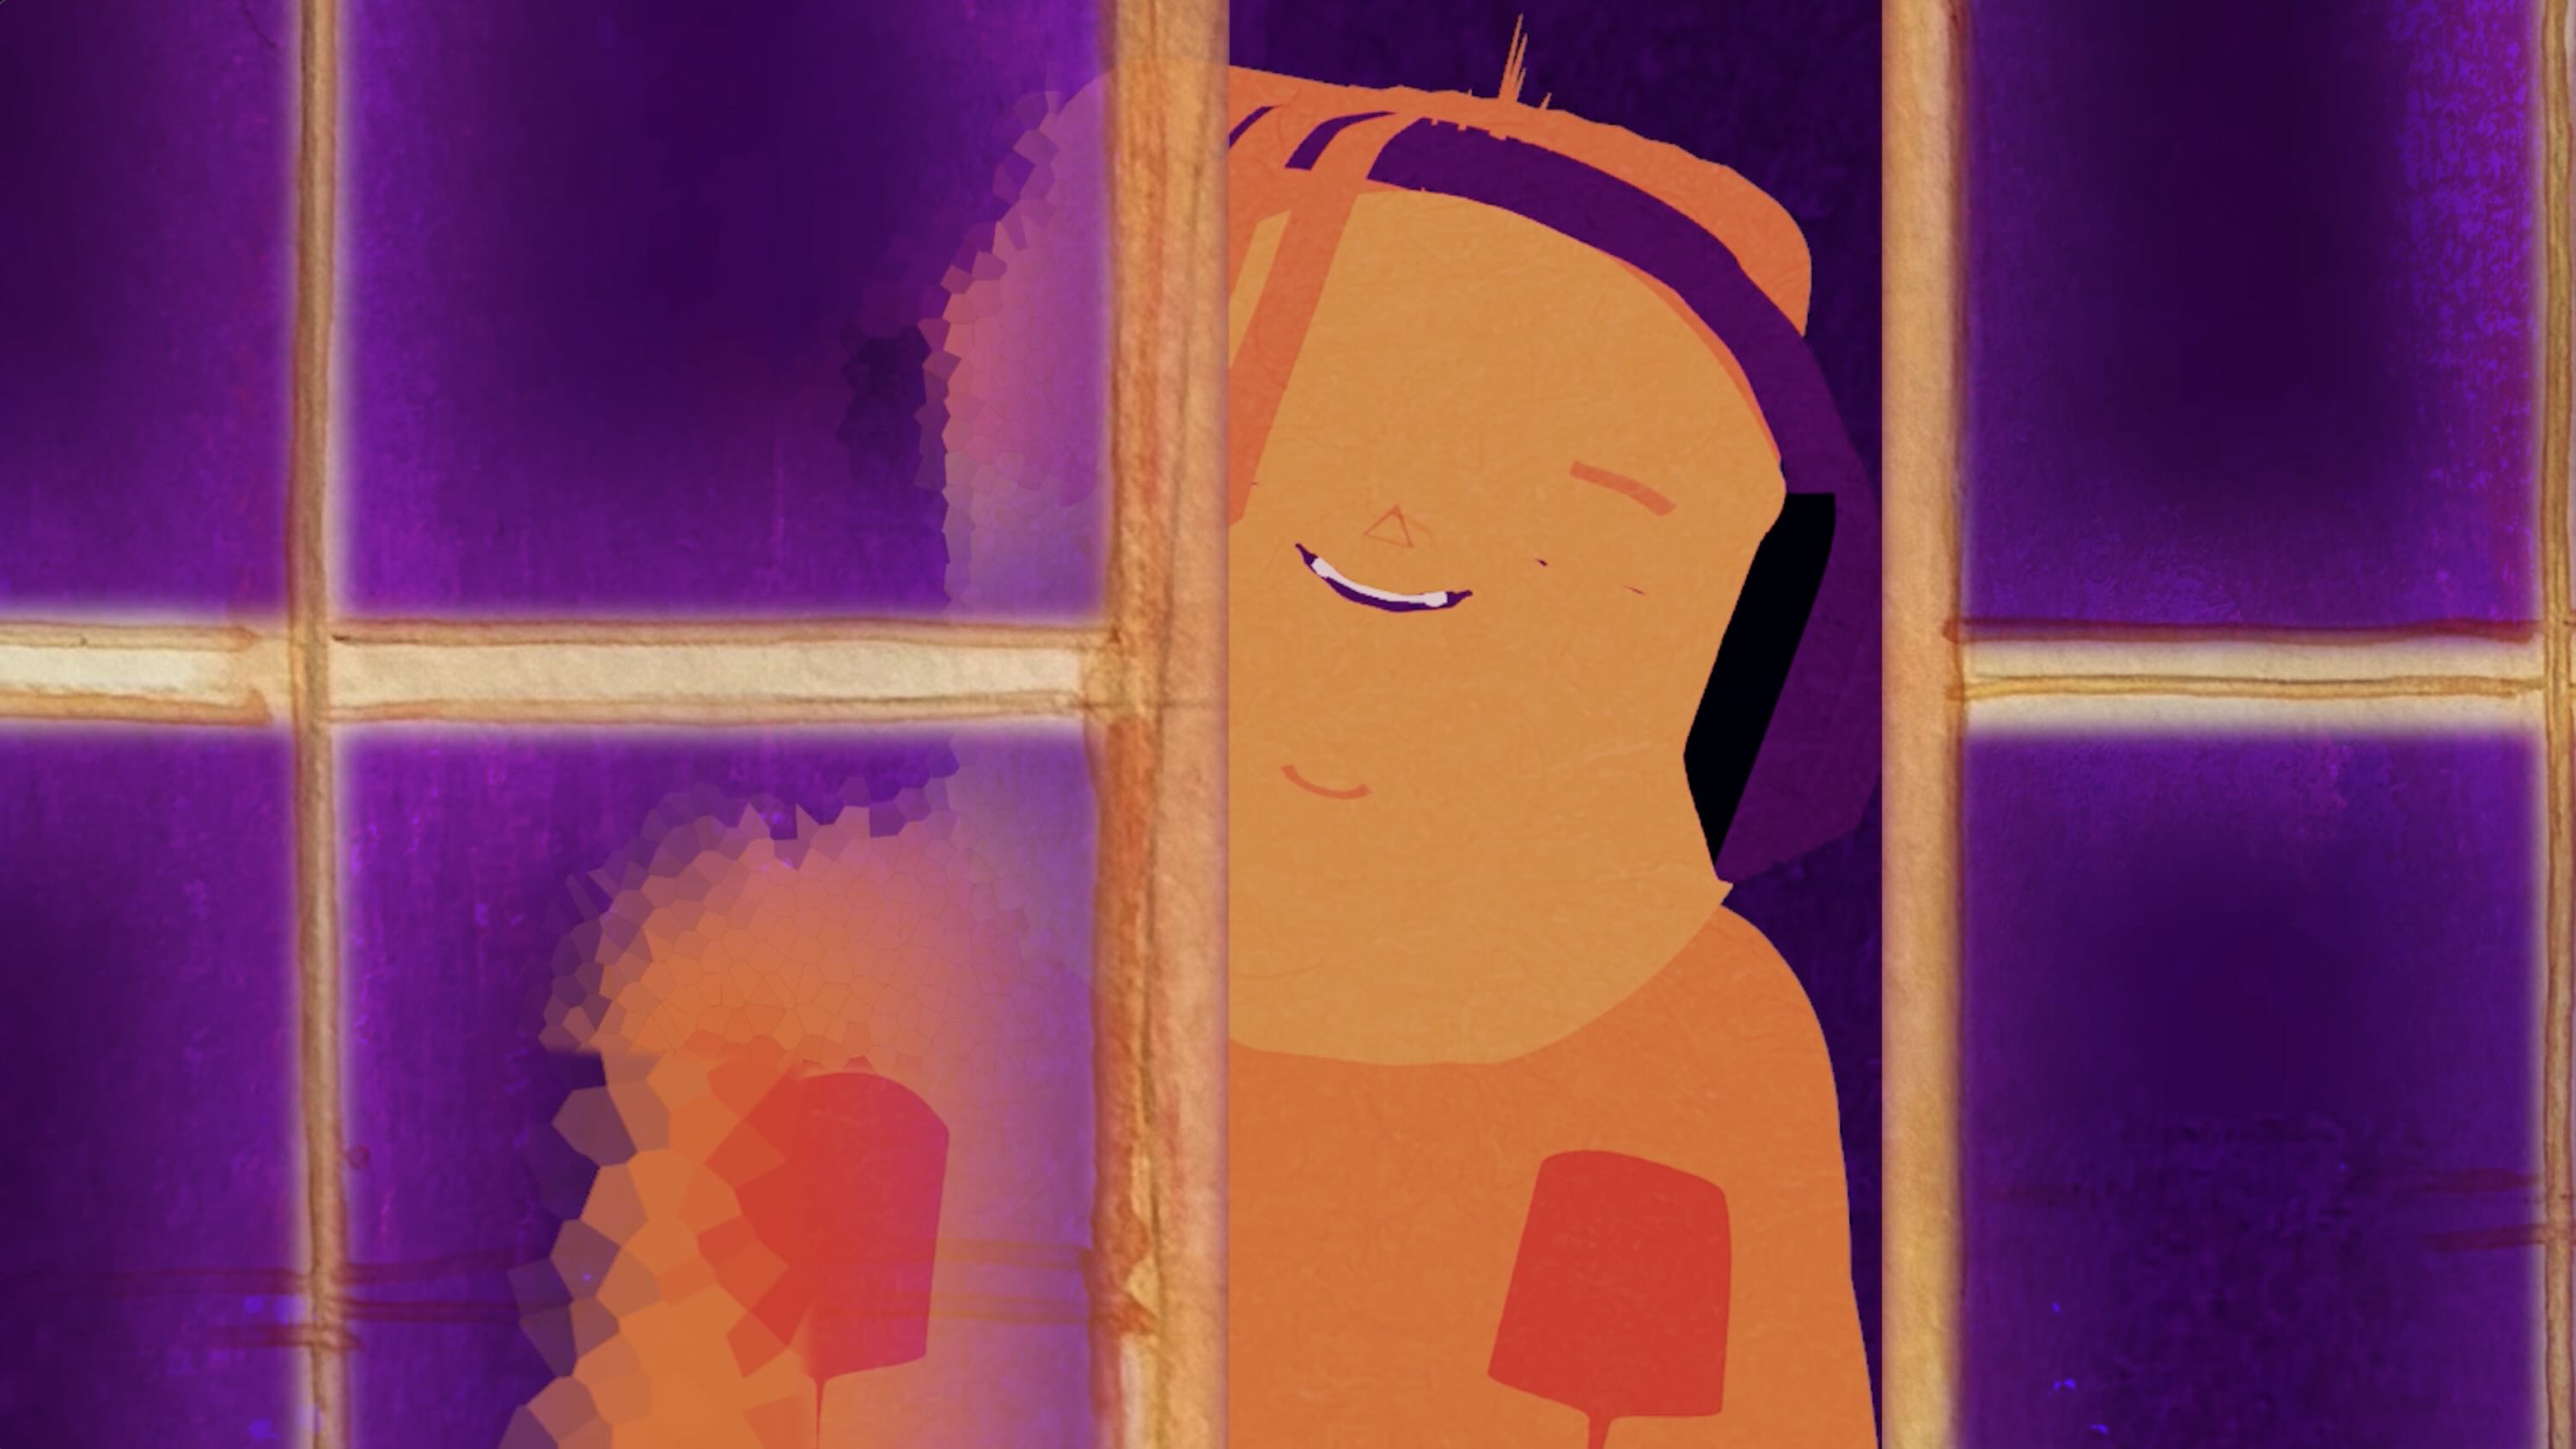
I added the glass effect on the sliding door during my polish time.
Closing Thoughts: After completing a project, I take some time to write down my pain points and determine if any were painful enough to warrant code updates. Hindsight often reveals that issues I assumed were technical priorities were, in fact, complete nonissues during production. For this reason, I try to animate as soon as my pipeline code changes are minimum-viable functional.
If you would like a price estimate for cartoon animation, I would love to hear from you. I am looking for clients!